
How to Setup the Pepipost Mailer in WP Mail SMTP

Published on 2020-03-13· Updated on 2023-09-06
In this tutorial, you will learn how to set up WordPress email notifications with Pepipost using WP Mail SMTP.
Prerequisite
- The latest version of WP MAIL SMTP - to avoid any known bugs
- An account with Pepipost
- Your sender domain should be configured and approved on Pepipost
Configuring Your Pepipost Account
Pepipost is a cloud email delivery platform. To start sending emails with Pepipost, you'll first need to set up an account on Pepipost. Once, the account is ready you'll get the API key which needs to be added in your WP Mail SMTP configuration.
But, just adding the API key won't enable sending emails. The other important parameter is sending domain configuration.
What is Sending Domain?
Sender domain is the address which recipients see in the ‘from’ field when they open your emails. For example: when you receive the activation mail of Pepipost, the from address is ‘[email protected]’ wherein “pepipost.com” is the sender domain.
To start sending emails to your customers, you can either use your top-level domain (e.g. mycompany.com) or a sub-domain like email.mycompany.com. Note: Please make sure the sending domain which is configured on your Wordpress setup is the same which is configured under your Pepipost account.
If you don’t already have an account with Pepipost, click here to create one.
Note: Pepipost’s free trial allows 30,000 emails to be sent during the first month. After that, the free plan allows up to 100 emails/day (or a higher limit with a paid plan).
After you’ve created an account (or logged into an existing account), you’ll need to set up a sending domain. If you aren’t taken directly to the page for this when your account opens, then please click here.
Note: Pepipost's free trial allows 30,000 emails to be sent during the first month of signup, and from the following months you will be allowed to send 100 emails/day forever.
Once your account is created, you'll need to configure your sending domain under your Pepipost account.
Note: You'll be allowed to send emails only from the domains which are configured and approved under your Pepipost account. Sending emails from domains other than the ones which are configured will lead to non-deliver of emails.
How to configure your sending domain on Pepipost?
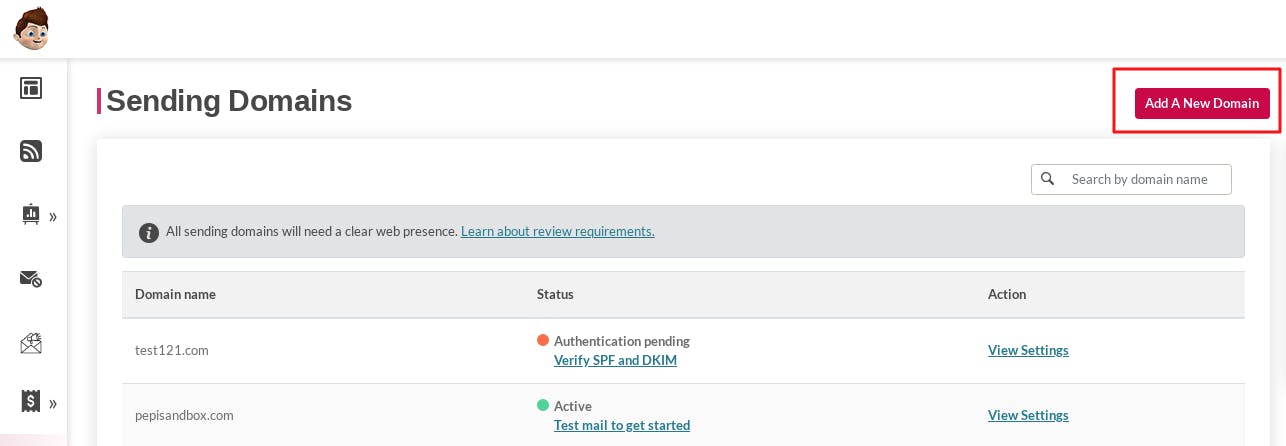
When you log in for the first time on Pepipost, you're auto-redirected to a page to add your sending domain as shown below. In case, you're unable to find that option, then simply navigate through menu Settings --> Sending Domain --> Click Add New Domain
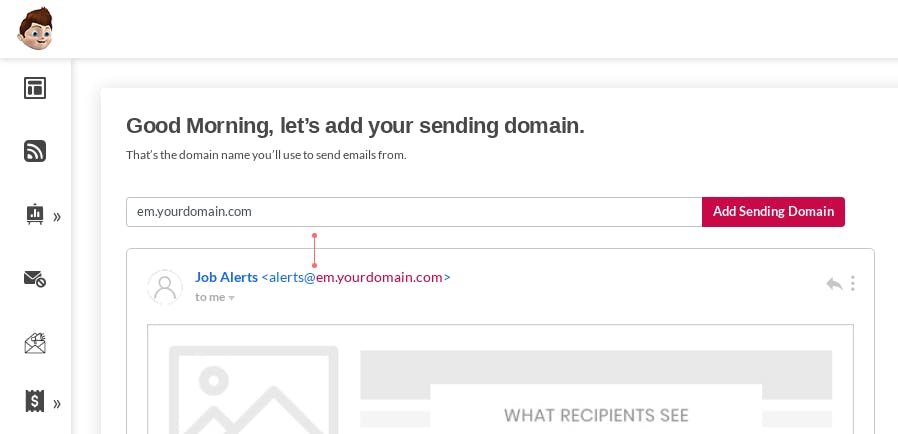
Enter your domain e.g. yourwebsite.com or subdomain.yourwebsite.com. It is always recommended to use a sub-domain instead of the main domain for sending emails. A subdomain can help you better manage the email delivery and reputation of your overall site.
Note: Best practices to choose a good subdomain:
- Do not use "mail" word in a subdomain. It's most common and many a time already in use.
- Do not use underscores, as this may lead to a compatibility issue with some of the mailbox providers.
- Do not enter http:// or www. while adding a sub-domain on Pepipost
After clicking "Add Sending Domain" button, you'll be redirected to "Authenticate Your Domain" page where you'll see two TXT records. Both of these records you need to copy and add in your domain's DNS settings.
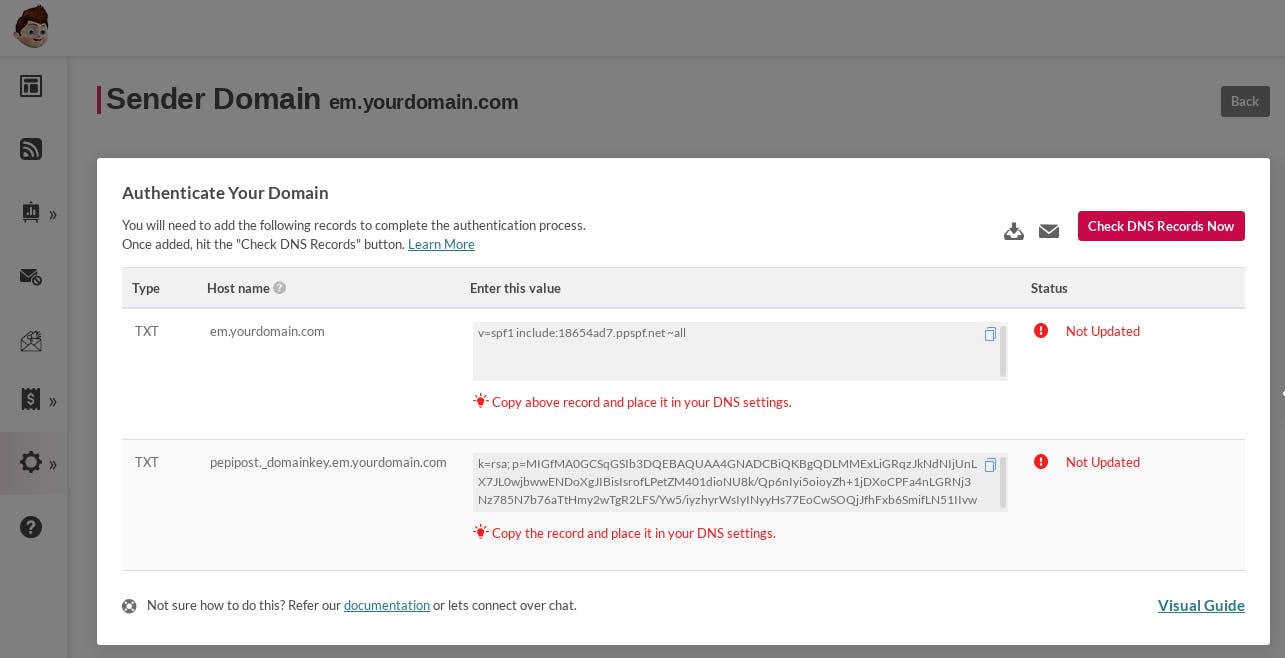
To see a step by step help on how to do DNS settings, you can click on the "Visual Guide" option in the above screen.
After adding the DNS records, you need to hit the "Check DNS Records Now" button.
Once Pepipost is able to verify the DNS records successfully, you should see a popup message stating your domain is under review with the compliance team.
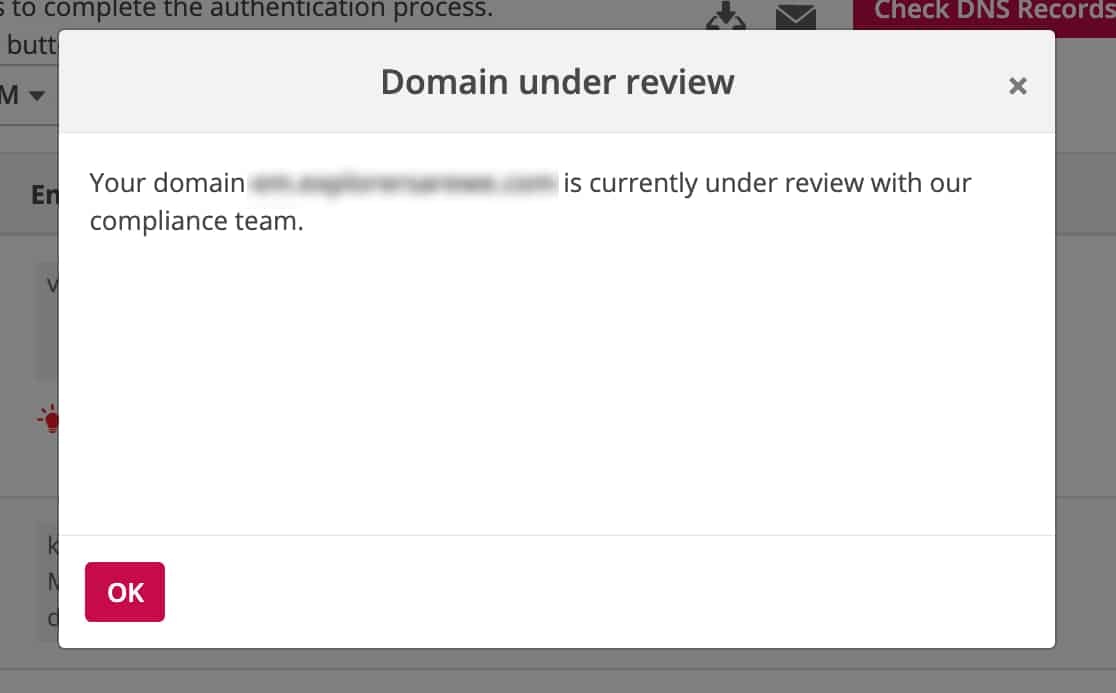
Note: The domain review process typically requires 6-8 hours. You can refer this link to learn more factors which are mostly been considered while reviewing your domain. Sending domains which don't comply with these terms are mostly not accepted to send emails.
You don't have to really wait for the review process to complete. You can still move ahead with the integration process.
Setting UP WP Mail SMTP
Now that you have completed the domain configuration piece on Pepipost, you can switch back to your WP Mail SMTP settings.
Before moving ahead in the process, please make sure that your WP Mail SMTP plugin is installed and activated successfully. The next step to configure few setting in WP Mail SMTP:
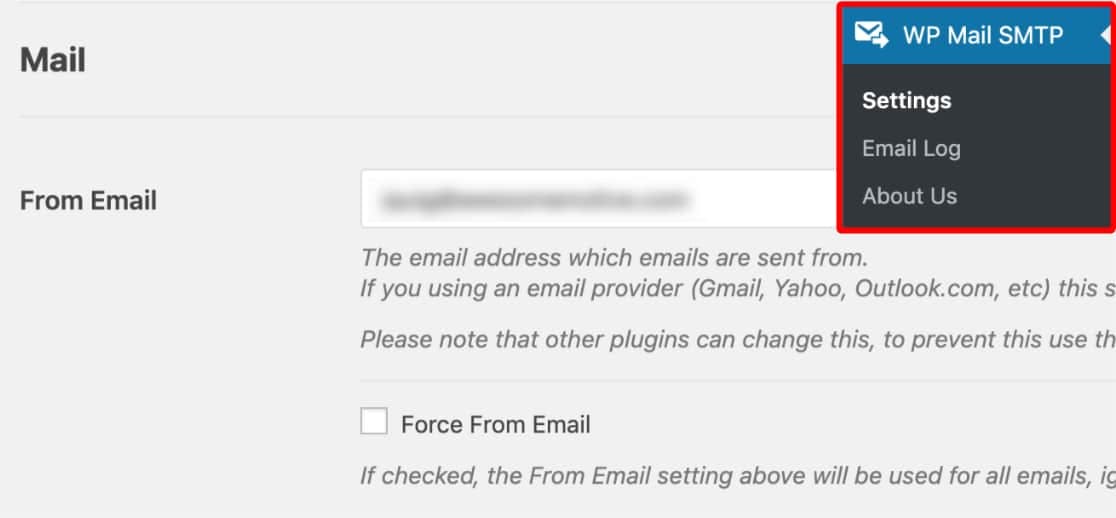
From Email
This is the email address that all your site's emails will be sent from. If you're using multiple plugins which are generating emails to be sent to your users, then there is a high chance that each of them is using a different fromemail address within their individual settings. In case you want all communications to go from a same email address, then you can choose to select "Force From Email".
From Name
By default, this is set to your site name. However, you can change this to any name you want. Like "Force FromDomain" option, you can also "Force FromName" to sitewide apply this setting.
Return Path
It is recommended to keep this option checked. This will ensure that you're always notified in case of any bounce event.
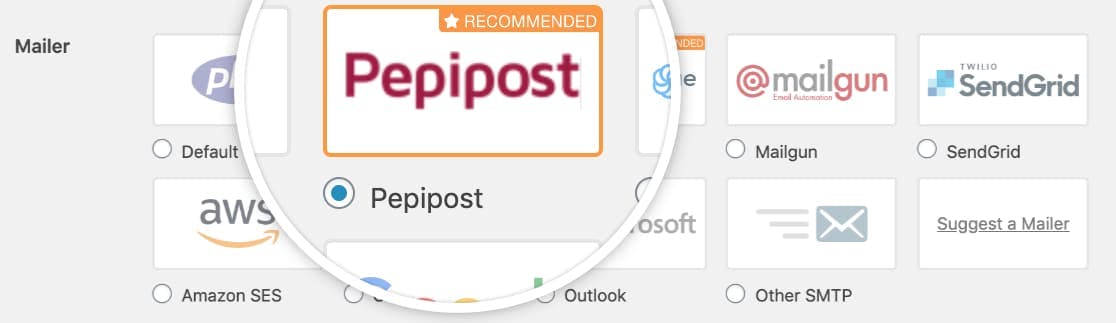
Mailer
You'll need to select Pepipost option in the Mailer section.
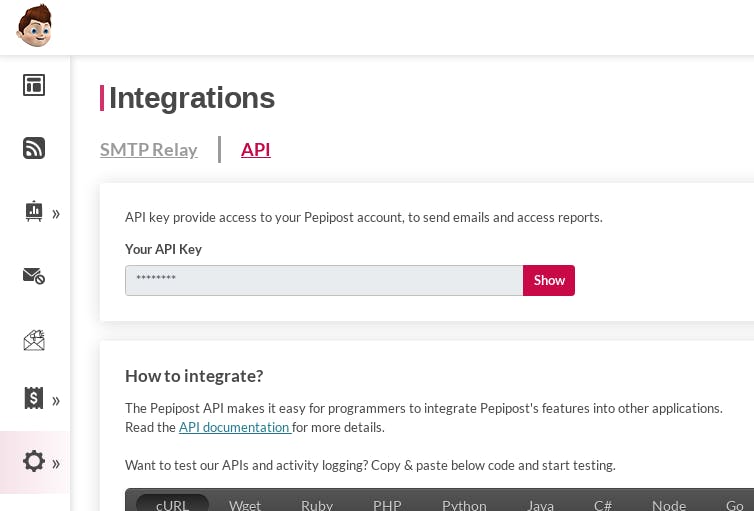
The last step in the configuration is to get the API key from your Pepipost account and enter in the API key section.
To locate the API key, visit the integrations option under the Setting menu tab.
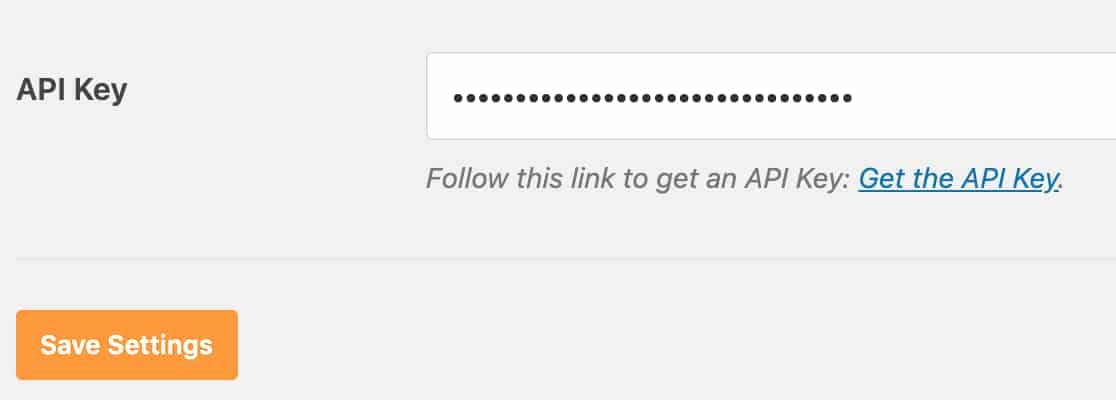
Once you're able to get the API key from the Pepipost, paste the same on the API key field in WP Mail SMTP and click the "Save Settings" button.
Sending a Test Email
Note: You can send a test email only if your sending domain which was under review is successfully approved by the Pepipost compliance. So, you need to either wait for the review process to complete or try sending mails using the test sandbox domain provided by Pepipost. To access sandbox details, you need to login to Pepipost and navigate through Settings --> Sandbox.
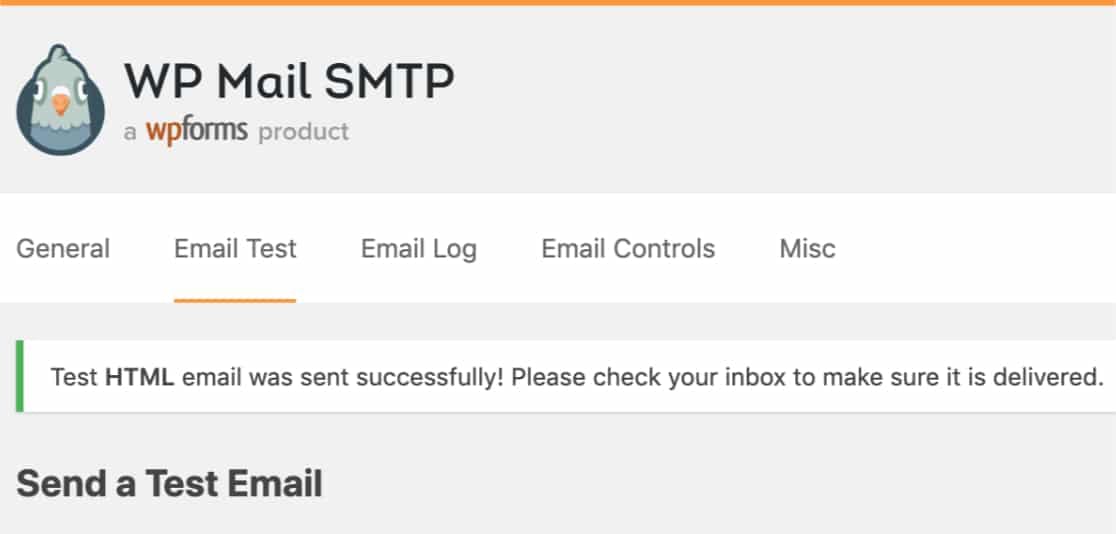
Click on "Email Test" tab. Enter any email address on which you want to receive the test email and hit the Send Email button. Once the email is successfully processed, you should see a success message as follows:
Hope, this tutorial was helpful in integrating Pepipost with WP Mail SMTP. In case you're still finding challenges please feel free to comment below or reach out to Pepipost 24x7 chat support.
Grade My Email
Check your spam now?
Netcorecloud's toolkit is the solution to all your email problems.


You can also explore
Netcore connects & unifies your data across all sources, connects to your marketing channels and provides you with control over AI Powered automation and personalization.


Deploy emails that are
screenshot worthy!

Unlock the Secrets of Your Domain, Discover Limitless Possibilities! ✨
Get a Free Domain Health Check Now!
Dibya Sahoo🥑
Co-founder, Pepipost
Over 12 years of experience, building products to deliver emails ~ 🥑 Developer Relations Guy ~ 🎙️ Speaker