
Installing Postfix as a Send-Only SMTP Server on Debian 10

Published on 2019-08-29· Updated on 2024-01-25
The author voluntarily contributed this tutorial as a part of Pepipost Write to Contribute program.
Introduction
In this tutorial, you will learn how to install and configure Postfix on your server, so that other applications installed on that server can use the Postfix to send emails.
Why do you need Postfix?
If you are already using a third-party email service like Netcore Cloud's API, then you don't need Postfix. However, if you want to set up a local server to send emails at scale, Postfix is a good option.
Postfix is a widely-used open-source Mail Transfer Agent (MTA) that routes and delivers mail between different servers on the internet while prioritizing speed, simplicity, and reliability.
Prerequisites
- A Debian 10 server and a sudo (superuser do) non-root user.
- A valid domain name e.g.: mycompany.com, which should be pointing to your Debian 10 server.
Note that the hostname must match your domain name. Run the following command to check for the same:
hostname
The output should display the domain name, such as mycompany.com, that is pointed to the server.
Step 1 - Install Postfix
Before proceeding, please confirm the version of your Debian server by using the following lsb command:
lsb_release -a
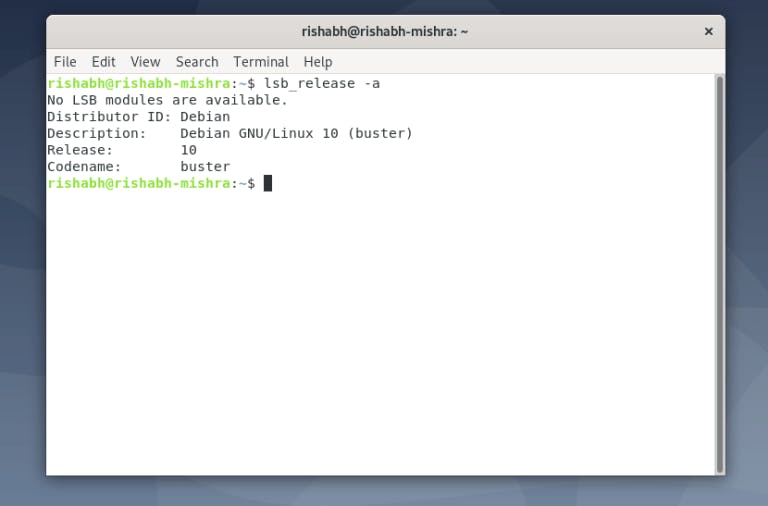
The output should show Debian Release as 10.
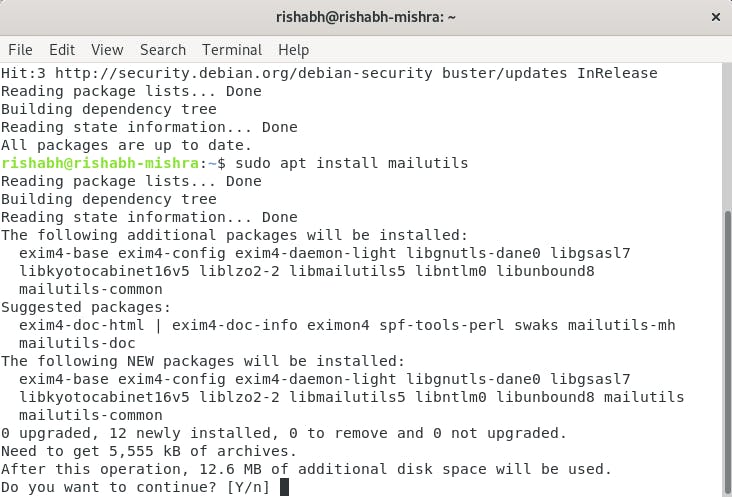
The next step is to install two critical packages: mailutils, which includes programs essential for Postfix to function, and Postfix. To ensure the proper functionality of Postfix, you must install the mailutils package.
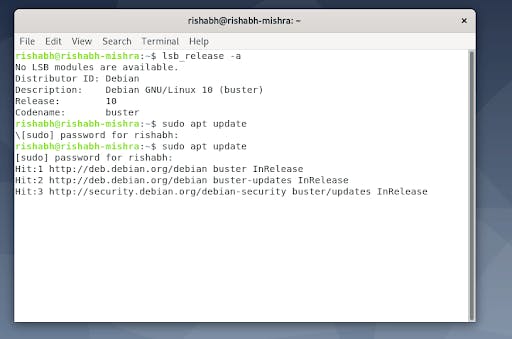
- Update the package database
sudo apt update
Next, install mailutils
sudo apt install mailutils
Install the postfix package
sudo apt install postfix
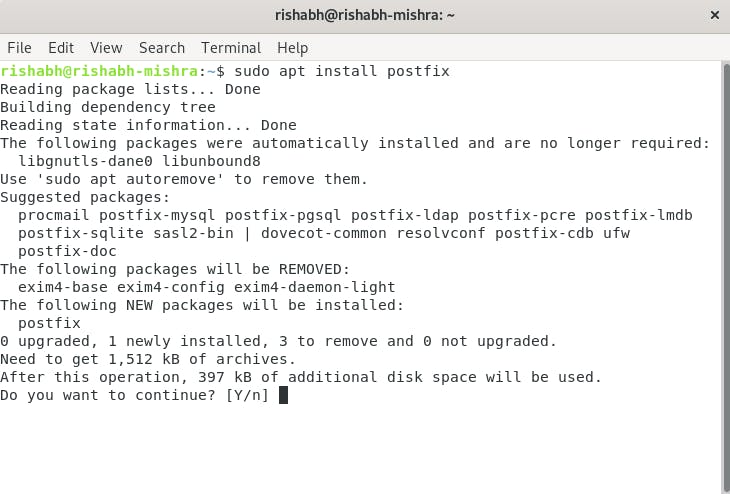
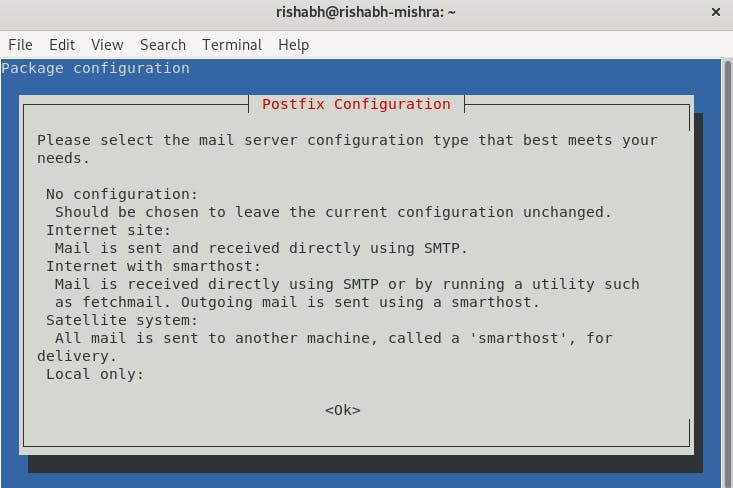
After downloading the package, a screen will appear asking you to choose a configuration type. Press Enter to see the next screen with options to select.
You will find 4 configurations:
- Internet site
- Internet with smarthost
- Satellite system
- Local Only
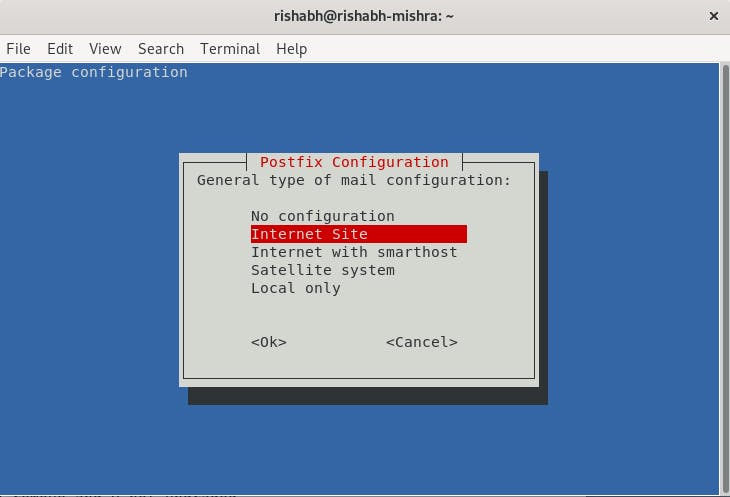
The default option is the Internet site (recommended). Press TAB, then ENTER to continue with the installation.
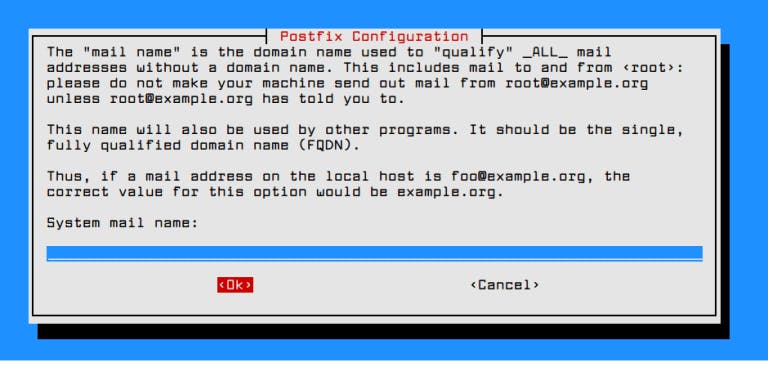
The next page will ask you to set your System mail name - it can be a domain or server hostname with an ‘A’ record. Select OK to save the settings and finish the installation.
The System mail name should be the same as the name you assigned to the server when you were creating it. If it shows a subdomain like subdomain.example.com, change it to example.com. Once done, press TAB, then ENTER.
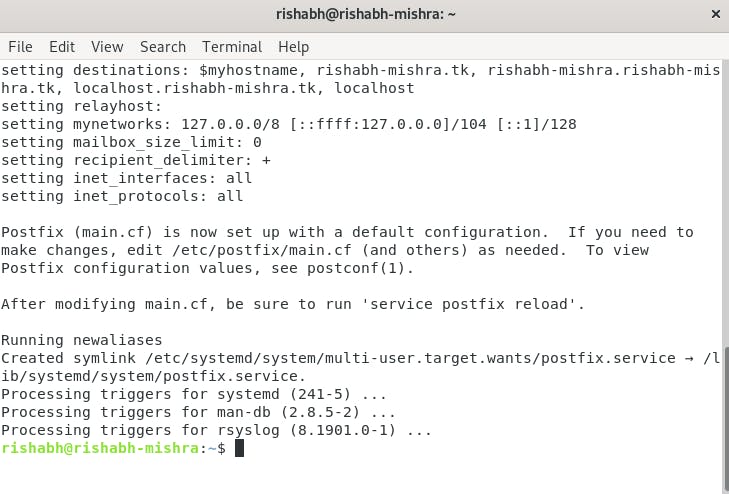
You now have Postfix installed and are ready to modify its configuration settings.
Step 1: Configure the Postfix by modifying its settings.
Step 2- Configuring Postfix as send-only SMTP server
Configure Postfix as a send-only SMTP server i.e., it should process requests to send emails only from the server on which it is running (localhost).
For that to happen, Postfix needs to be configured to listen only on the loopback interface, the virtual network interface that the server uses to communicate internally. To make those changes, open Postfix's main configuration file main.cf. You can use your favourite editor, vim or Nano to open the same.
sudo nano /etc/postfix/main.cf
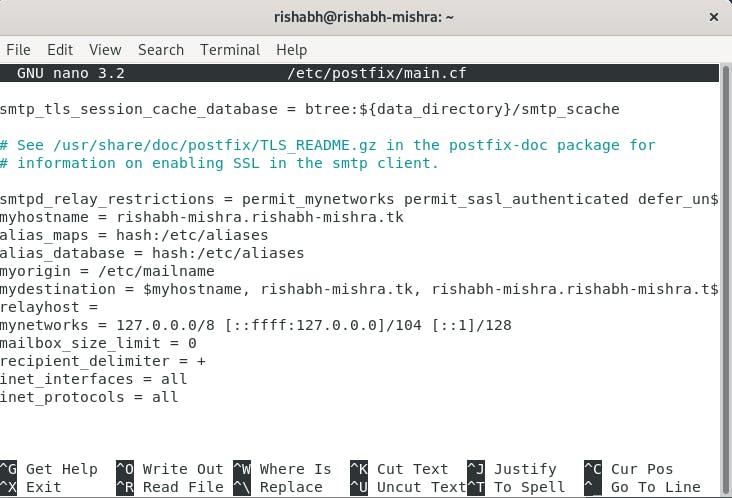
You need to make the following changes in the configuration.
inet_interfaces = all to inet_interfaces = loopback-only
Inet_interface in main.cf is used to control the network addresses and interfaces on which Postfix listens for incoming email, specifying this to loopback-only means that connection can only originate from that machine where Postfix is installed.
Once the file is changed, save it and restart Postfix.
sudo systemctl restart postfix
You will also need to modify the mydestination parameter, which is used to specify the list of domains that are delivered via the local_transport mail delivery transport. By default, the values are similar to these:
mydestination = $myhostname, example.com, localhost.com, localhost
Change the above values with the one suggested below:
mydestination = $myhostname, localhost.$your_domain, $your_domain
Save and close the file.
You have now successfully configured Postfix.
Step 3- Testing the SMTP server
In this step, you will test whether Postfix can send emails to an external email account using the mail command, which is part of the mailutils package you installed in Step 1.
To send a test email, type:
echo "This is the body of the email" | mail -s "This is the subject line" email_address
Change the body and subject line accordingly, and in place of the email address, use a valid email id.
Check the inbox or spam folder of your mailbox to which you sent the test email.
Note that with this configuration, the address in the ‘From’ field for the test emails you send will be [email protected], where your username is your Linux username, and mycompany.com is the domain set in your server’s hostname. If you change your username, the ‘From’ address will also change.
You can also check the email sending logs in /var/log/mail.log
Hope you found this tutorial useful to install and configure Postfix as a send-only SMTP server. We are a community of email enthusiasts. If you have further queries, drop an email to [email protected], and we would be happy to help you.
Excited about the latest in Bulk Email Marketing! Check out this insightful blog on Gmail and Yahoo updates in the email marketing landscape.
Explore the Blog - Here
Stay ahead of the game with valuable insights on optimizing your email campaigns! 📬
Grade My Email
Check your spam now?
Netcorecloud's toolkit is the solution to all your email problems.


You can also explore
Netcore connects & unifies your data across all sources, connects to your marketing channels and provides you with control over AI Powered automation and personalization.


Deploy emails that are
screenshot worthy!

Unlock the Secrets of Your Domain, Discover Limitless Possibilities! ✨
Get a Free Domain Health Check Now!

Rishabh Mishra
Programming Guy! Your coding problem corresponder.