

The author voluntarily contributed this tutorial as a part of Pepipost Write to Contribute program.
Introduction
PHP is the most used programming language in the development of web applications. And, sending an email is one of the important module used in any web applications. Web applications send different types of system-generated emails like signup confirmation, forgot-password, statements and many more.
Nowadays, almost every PHP framework provides well managed and developed email functionality. And, CodeIgniter is no new to it and has a built-in email library to send emails too.
Sending email in CodeIgniter is much easier. You have to configure SMTP properties in the configuration file, load it, and start sending emails using SMTP. That's it.
Prerequisites
- PHP (In this tutorial PHP v5.3.5 is used).
If you don't have PHP get it installed from here - Any Web Server like Nginx or Apache (In this tutorial Wamp Server is used).
In case you don't have any of the above installed, please use the below links to install:
- Installing Wamp Server
undefinedundefined - Make sure you have PHP-FPM installed, up and running.
- CodeIgniter 3.1.1
If you are new to CI get it installed on any of the Web Server from below:
- Installing CodeIgniter on a Wamp server
- Installing CodeIgniter on an Nginx - - Official CodeIgniter Installation Documentation for installing codeIgniter or you can clone it from Github and configure it on any of web server.
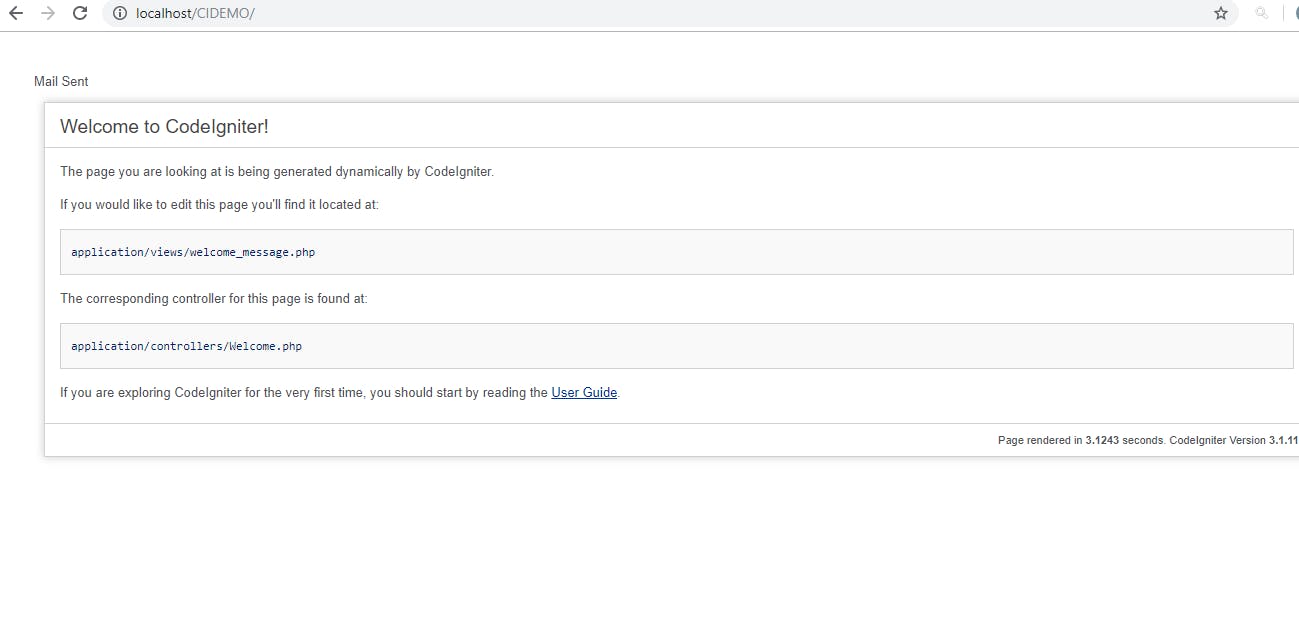
Once you install CodeIgniter and run, it will show a welcome page similar to the one below:
Now, as you're ready with the setup, it's time to code to send email using CodeIgniter. Here are the few steps to be followed:
Step 1 - Configuring SMTP properties in CodeIgniter
CodeIgniter doesn't have a predefined config file to manage all your SMTP - the protocol which is used for sending emails. So, let's create one:
- Create a file email.php in the directory application/config
- Add below code to email.php:
Understanding the different parameters used in this tutorial:
- protocol: SMTP. This is the main protocol used for sending emails.
- smtp_user/smtp_pass: Then SMTP User Name and Password
Note: If you are using Gmail SMTP. Enable the less secure app to login from your Gmail's setting. - smtp_port: SMTP Port used for SMTP mail
- smtp_crypto: Encryption method to be used, i.e. TLS, SSL etc.
- charset: A charset can be iso-8859-1 or utf-8
- mailtype: Mail Type can be HTML or plain text.
- newline: New Line character to be \r\n.
Step 2 - Create CodeIgniter Email Controller
- Create a controller file SendEmail.php in application/controllers
- Create function send Load Library email in it and configure it for:
- From Name/From Email Address
$this->email->from($from, $fromName);
- Recipient email address
$this->email->to($to);
- Email Subject
$this->email->subject($subject);
- Email Content
$this->email->message($message); - Send Email using
$this->email->send()
It will return true/false based on whether the email is sent or not. - If sending email fails, use the below function call to debug failure reasons:
show_error($this->email->print_debugger());
Sample Code (SendEmail Controller) to send email
load->library('email');
        $fromName="TestName";
        $to='[email protected]';
        $subject='Test Mail Subject';
        $message='Test Content';
        $from ="[email protected]";
        $this->email->from($from, $fromName);
        $this->email->to($to);

        $this->email->subject($subject);
        $this->email->message($message);

        if($this->email->send())
        {
            echo "Mail Sent Successfully";
        }
        else
        {
            echo "Failed to send email";
            show_error($this->email->print_debugger());
                }
    }
    public function index()
    {
        $this->sendMail();
    }
}
Step 3 — Send Test Email
Open http://localhost/sendemail/send in your browser. You will see the output as:
Mail Sent Successfully
In case you encounter any issues and the email failed to send, then please follow the error library listed at the end of this tutorial for more details.
Optional Steps
Step 4 — Send Email using stored Template
1. Create an Email Template:
- Create a new directory email in application/views
- Create a new file email_template.php in application/views/email
- Add below code to application/views/email/email_template.php
This file will be used to dynamically generate content based on the message and email address passed.
         Hi ,
     Received your message
         {message}
     We will contact you soon on {email}
2. Create View File:
- Create a new file contactus.php in application/views/email
- Add below code to application/views/email/contactus.php:
- To get the message and "To address" from contact us form, replace above-created controller file with the below code:
load->library('email'); $to= $this->input->post('email'); $contactmessage= $this->input->post('message'); $data = array( 'to'=>$to, 'message'=>$contactmessage ); $message = $this->load->view('email/email_template.php',$data,TRUE); $fromName="Your Company"; $subject='Enquiry'; $from ="[email protected]"; $this->email->from($from, $fromName); $this->email->to($to); $this->email->subject($subject); $this->email->message($message); if($this->email->send()) { echo "Mail Sent Successfully"; } else { echo "Failed to send email"; show_error($this->email->print_debugger()); } } public function index() { $this->load->view('email/contactus'); } }That's it. Open http://localhost/sendemail in your browser, enter an email address, message and submit.
You have successfully sent an email!
Step 5 — Send attachment in Email (Optional)
Sending attachment in CodeIgniter is very much easier.
Just add below code in the above created controller and your email will be sent with attachment:
$this->email->attach('H:\path\file.PNG');Possible Errors/Exceptions while sending email in CodeIgniter
Error 1
Unable to connect to SMTP host
A PHP Error was encountered

Severity: Warning

Message: fsockopen() [function.fsockopen]: unable to connect to smtp.pepipost.com:25 (A connection attempt failed because the connected party did not properly respond after a period of time, or established connection failed because connected host has failed to respond. )
Filename: libraries/Email.php
Line Number: 2069
This occurs when;
1) When your SMTP Server is down.
2) Port you are using to send Email is blocked.
Solution
1) Contact your SMTP Service provider.
2) Telnet SMTP host on port 25,587,465 or 2525 whichever responds, use that to send emails.
Error 2
This error occurs when you try to use SSL, but SSL is not configured:
A PHP Error was encountered

Severity: Warning

Message: stream_socket_enable_crypto() [streams.crypto]: this stream does not support SSL/crypto
Filename: libraries/Email.php
Line Number: 2097
Solution :
1) Open php.ini file and remove; from below line and restart the webserver.
;extension=php_openssl
2) Try changing the port to 465 or 587.
3) If you don't want to use SSL remove smtp_crypto property from config file.
Conclusion
You have successfully sent email using CodeIgniter. You can use this in your web application, define your templates and start sending emails.
If case you encountered some issue which is not listed as a part of this tutorial, then please feel free to contribute below in comments.
Other Related Tutorial.
Grade My Email
Check your spam now?
Netcorecloud's toolkit is the solution to all your email problems.


You can also explore
Netcore connects & unifies your data across all sources, connects to your marketing channels and provides you with control over AI Powered automation and personalization.


Deploy emails that are
screenshot worthy!

Unlock the Secrets of Your Domain, Discover Limitless Possibilities! ✨
Get a Free Domain Health Check Now!
Rishabh Mishra
Programming Guy! Your coding problem corresponder.