
[Complete Guide] How to install Mailtrain on Centos 7

Published on 2020-01-14· Updated on 2024-04-11
Mailtrain is a very popular open-source, self-hosted, newsletter application which is built on NodeJs and MySQL. Mailtrain allows us to send bulk emails by uploading e-mailing lists through your preferred SMTP service.
In this tutorial, you will learn the steps required to successfully install and integrate Mailtrain Open Source Email Newsletter Application on a fresh Linux- Centos 7 instance:
Prerequisites
- A hosting server with a minimum of 1GB ram available for Mailtrain service. (To be at safer side, it is recommended to have slightly higher capacity)
- Node.js (v7+)
- MySQL (v5.5+ or MariaDB)
- Redis (for session storage)
- A user account with Pepipost. If you don't have one, click here to signup and get started with 30,000 emails

Installation
Step 1: Check Node version
$ sudo node -v
You can install Node.js using these commands (Skip this step, if you already have NodeJs installed)
$ sudo yum install -y gcc-c++ make
$ sudo yum install nodejs
Step 2: Check MySQL version
$ sudo mysql -v
For the installation of MySQL server please refer to this article. (Skip, in case you have MySQL already installed):
Step 3: Clone Mailtrain git repository on your server directory
$ sudo git clone git://github.com/Mailtrain-org/mailtrain.git
$ cd mailtrain
Step 4: Create a new database and user
In this step you will create a new database and a new user, so log in to your MySQL instance and follow the given steps:
- Log in to MySQL and create a new database.
mysql> create database mailtrain;
- Create a new user with its hostname and password
mysql> CREATE USER 'mailtrainuser'@'localhost' IDENTIFIED BY 'password';
- Give user access and exit
mysql> GRANT ALL PRIVILEGES ON * . * TO 'mailtrainuser'@'localhost';
mysql> EXIT;
Step 5: Copy the file config/default.toml to config/production.toml
$ cp config/default.toml config/production.toml
Step 6: Edit config file
$ sudo vim config/production.toml
Step 7: Edit production.toml
You will make changes to the following sections in production.toml file:
- Change the MySQL details based on the database you have created.
[mysql]
host="localhost" // your mysql host
user="mailtrainuser" // username
password="password" // mysql password
database="mailtrain" // database
- Enable Redis if you have it installed.
[redis]
enabled=true
host="localhost"
port=6379
db=5
For installation of Redis follow the given set of commands
$ sudo yum install redis
$ sudo systemctl start redis
$ sudo systemctl enable redis
Step 8: Run npm install
$ npm install --production
Step 9: For the final step, you will run the Mailtrain.
$ NODE_ENV=production npm start
You can run Mailtrain like this or you can create a Mailtrain service. To do that, you can now end the currently running instance by pressing [Ctrl + c] and follow the next steps.
Create and run Mailtrain service file
Step 1: Create a new user group for Mailtrain
$ sudo adduser --system mailtrain
Step 2: Add user group in the production.toml file
$ sudo vim config/production.toml
Add these credentials
    user="mailtrain"
    group="mailtrain"
Step 3: Add permissions for our Mailtrain user to execute our directory
$ sudo chown mailtrain:mailtrain /var/www/html/mailtrain/ -R
Step 4: Copy our Mailtrain service file to the systemd system directory
$ sudo cp /var/www/html/mailtrain/setup/mailtrain.service /etc/systemd/system/
Step 5: Change the working directory in our mailtrain.service file
$ sudo vim /etc/systemd/system/mailtrain.service
Change "/opt/mailtrain" to whatever your Mailtrain folder path is for example "/var/www/html/mailtrain"
Step 6: Start the Mailtrain service
$ sudo service mailtrain start
And with this, you have the Mailtrain service up and running. You can check the status of the Mailtrain service by using this command
$ sudo service mailtrain status
With this done, you have successfully installed Mailtrain service on your Linux server.
The next step is to set up a reverse proxy.
Setup reverse proxy
Step 1: Edit production.toml file
$ sudo vim config/production.toml
Modify these lines
host="127.0.0.1"
proxy=true
Step 2: Server config setup
For Apache2:
For Installation of Apache2 server use the commands mentioned below:
$ sudo yum install httpd
$ sudo systemctl start httpd
$ sudo systemctl enable httpd
You can find the Mailtrain server configuration setting for Apache in the following path.
$ vim /var/www/html/mailtrain/setup/mailtrain-apache.conf
Note:- You need to enable Proxy Mod on Apache2 (only if you haven't enabled it yet). This can be done by using the following command:
$ httpd -M
These are the settings you will be adding in your httpd.conf file:
$ vim /etc/httpd/conf/httpd.conf
ProxyPreserveHost On
ProxyPass        "/" "http://127.0.0.1:3000/"
ProxyPassReverse "/" "http://127.0.0.1:3000/"
ServerName example.com
ServerAlias www.example.com
Restart the server
$ sudo service httpd restart
For Nginx:
For Installation of Nginx server use the commands mentioned below:
$ sudo yum install nginx
$ sudo systemctl start nginx
$ sudo systemctl enable nginx
You can find the Mailtrain server configuration setting for Nginx in the following path.
$ vim /var/www/html/mailtrain/setup/mailtrain-nginx.conf
These are the settings you will be adding in your nginx.conf file :
$ vim /etc/nginx/nginx.conf
    server {
    listen 80;
    listen [::]:80;

    server_name mailtrain.org www.mailtrain.org;
    access_log /var/log/nginx/mailtrain.log;

    location / {
        proxy_set_header X-Real-IP $remote_addr;
        proxy_set_header X-Forwarded-For $proxy_add_x_forwarded_for;
        proxy_set_header HOST $http_host;
        proxy_set_header X-NginX-Proxy true;

        proxy_pass http://127.0.0.1:3000;
        proxy_redirect off;
    }
}
Restart the server:
$ sudo service nginx restart
Step 3: Restart Mailtrain service
$ sudo service mailtrain restart
With this, you will be able to access Mailtrain dashboard on your domain URL
http://<your-domain-address>
Setup and Integration with SMTP
you will be able to open the dashboard at http://<your-domain-address>, so login with Username: admin and Password: test
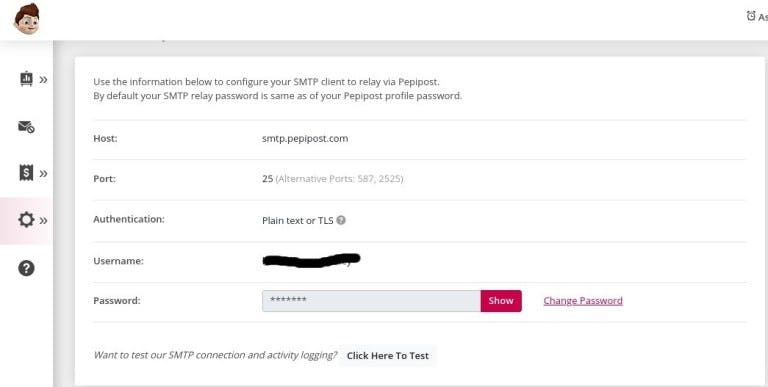
Get your Pepipost SMTP credentials
In this step, you will acquire the Pepipost SMTP credentials.
1. Log in with your user credentials on Pepipost application
2. Open SMTP integration panel using this link
3. You will find your SMTP credentials in SMTP Relay tab
Please check the screenshot provided below for reference:
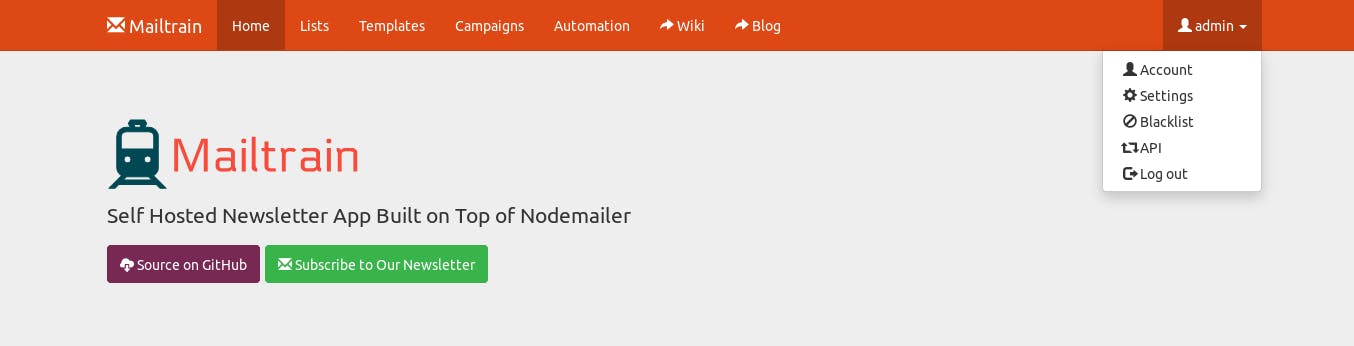
Updating Mailtrain settings
1. After successfully logging in click on admin->settings
2. In General Settings section change <Service Address (URL)> from <http://localhost:3000/> to <http://[your-domain-address]/> depending on your installation
3. Change <Admin Email> from [email protected] to your preferred sending from-address
Note:- The from-address domain name should be the registered and verified domain that you have integrated with your Pepipost account.
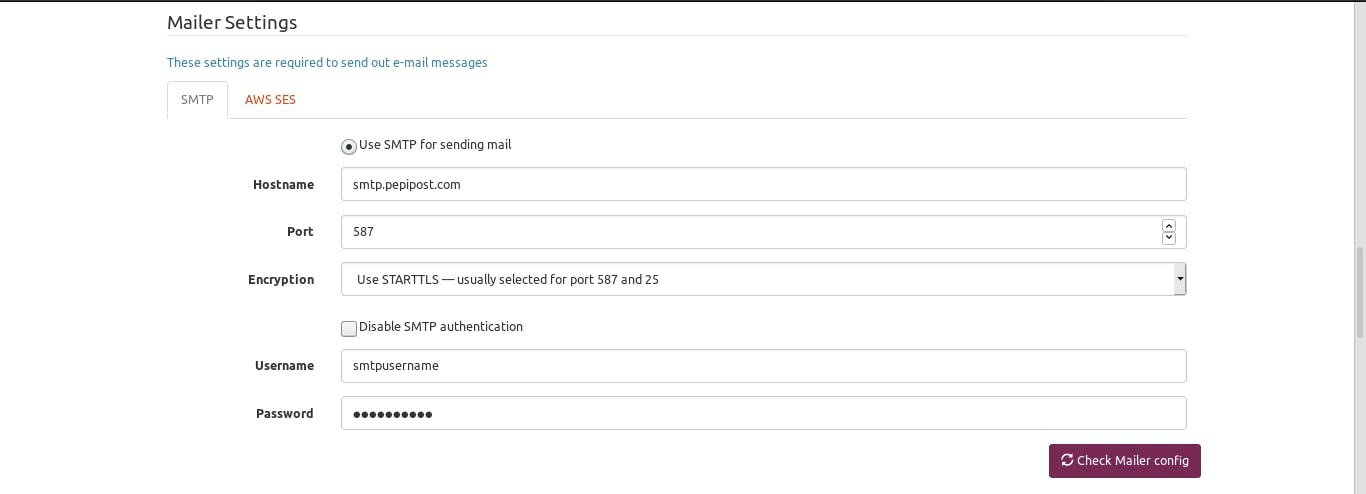
4. Find SMTP tab inside < Mailer Settings > section
5. Change Hostname to [smtp.pepipost.com]
6. Change Port to [25] (If you are using a hosting server that blocks port 25 you can also use port 587)
7. Change Encryption to [Use STARTTLS — usually selected for port 587 and 25] option
8. Keep the authentication checkbox disabled
8. Enter your SMTP username and Password
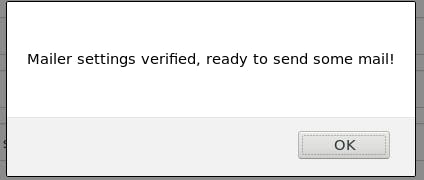
9. Click on [Check Mailer Config] button
10. You Should get an SMTP credential verification popup, which means your SMTP credentials are now ready to be used to send emails.
Creating a new email list
Mailtrain allows us to create an email list that can be used to send emails to a bunch of email ids at once. This allows us to create a custom list of emails that you can target our newsletters too.
Here are the steps to create a new email list:
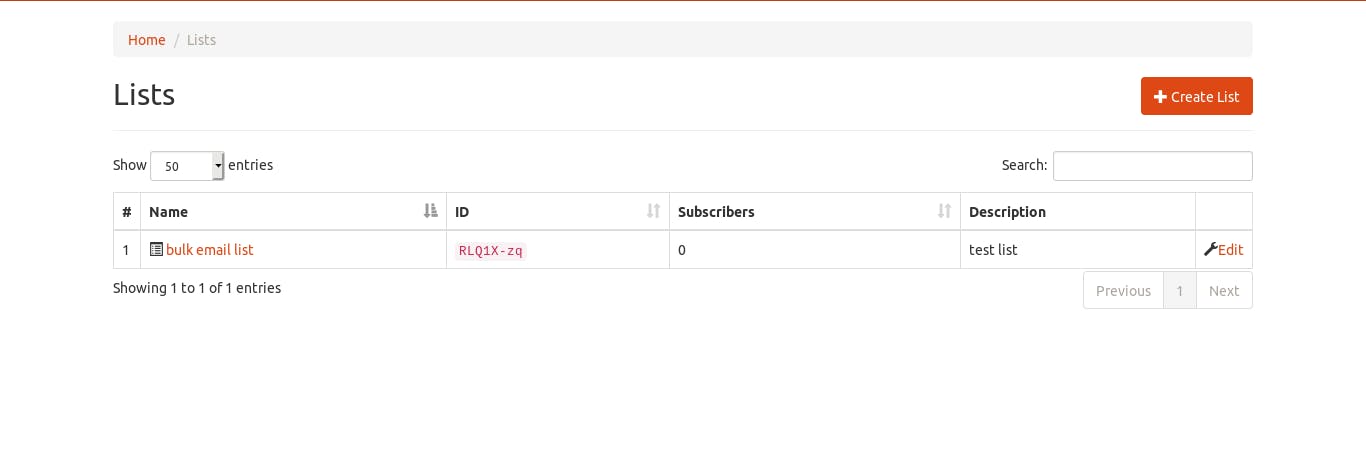
1. Click on the Lists menu option
2. Enter Name, Description and click on create a list
3. In the Lists menu, you would be able to see a newly created list
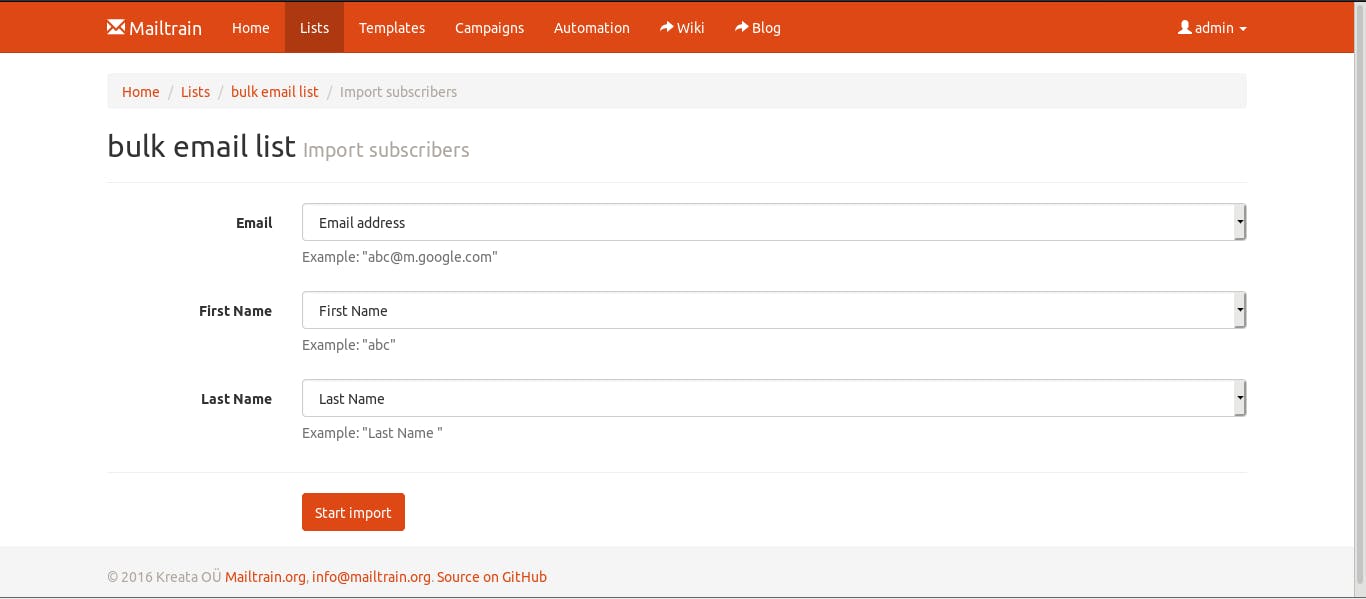
Uploading email ids to the email list
Mailtrain gives us two options to upload emails to the list
1. Adding subscribers through CSV upload
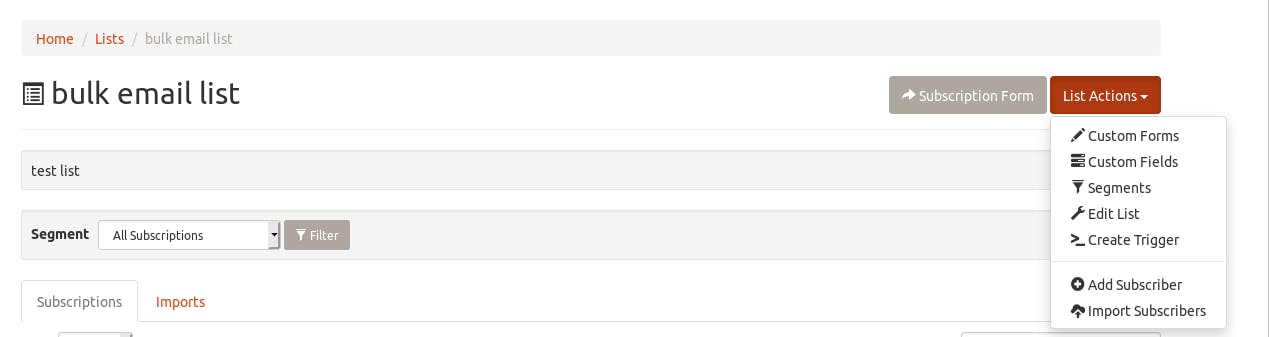
a. In Lists-> [your-list-name] click on [List Actions]->[Import Subscribers]
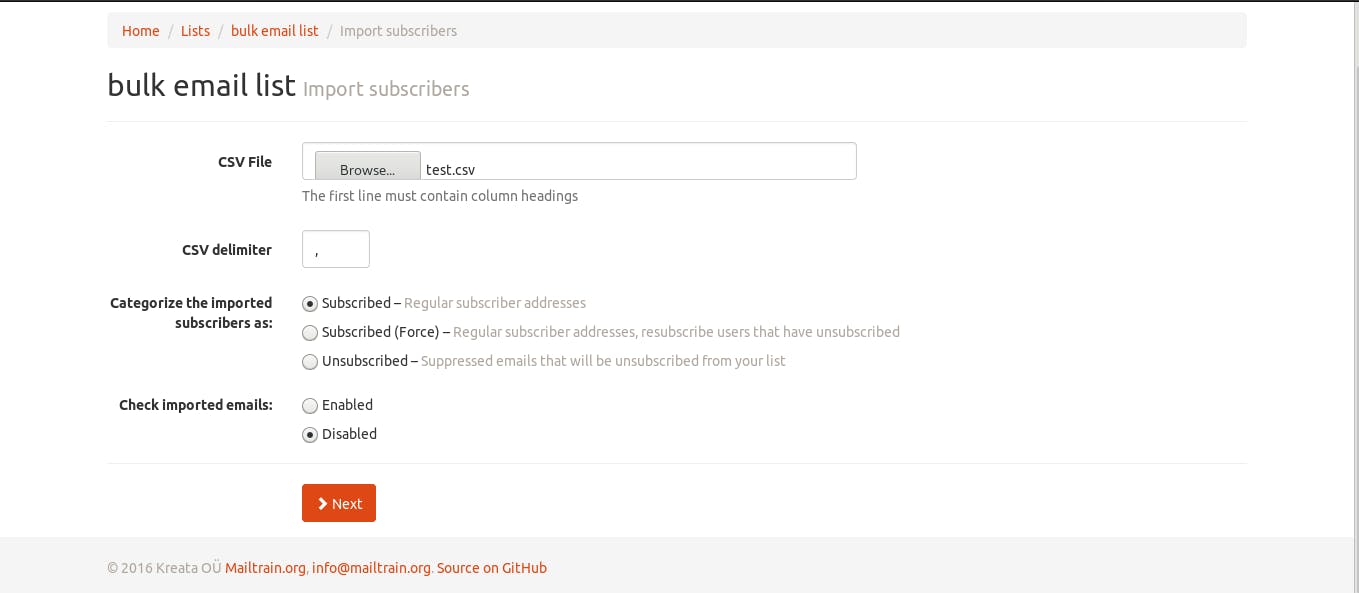
b. Browse for the CSV file containing the list of Email ids listed in it.
c. You can set [Categorize the imported subscribers as], as per your requirement. For importing the email list to our subscriber's list you will keep the subscriber radio box selected
d. [Check imported emails:] option checks if your imported email is valid else it will reject the emails that are not. The checks should be implemented if you want to filter emails according to their validity but for a large batch of email lists, it will take more time due to checkups for individual emails.
e. The CSV file that will be imported can have multiple columns namely First name, Lastname, EmailId, Timezone
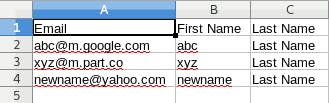
f. Click on Next button
g. Depending upon the number of Parameters in the CSV files you will get multiple dropdowns to import your uploaded data. Select the fields you want to import and click on the Start Import button.
h. After the import your email list will be populated, if there were any rejected email ids they will be listed with the reason for rejection.
i. You can edit, delete and blacklist the email address in the email list.
2. Adding subscriber through Add subscriber panel
a. In Lists-> [your-list-name] click on [List Actions]->[Add Subscribers]
b. Enter User details
c. Click on Subscribe
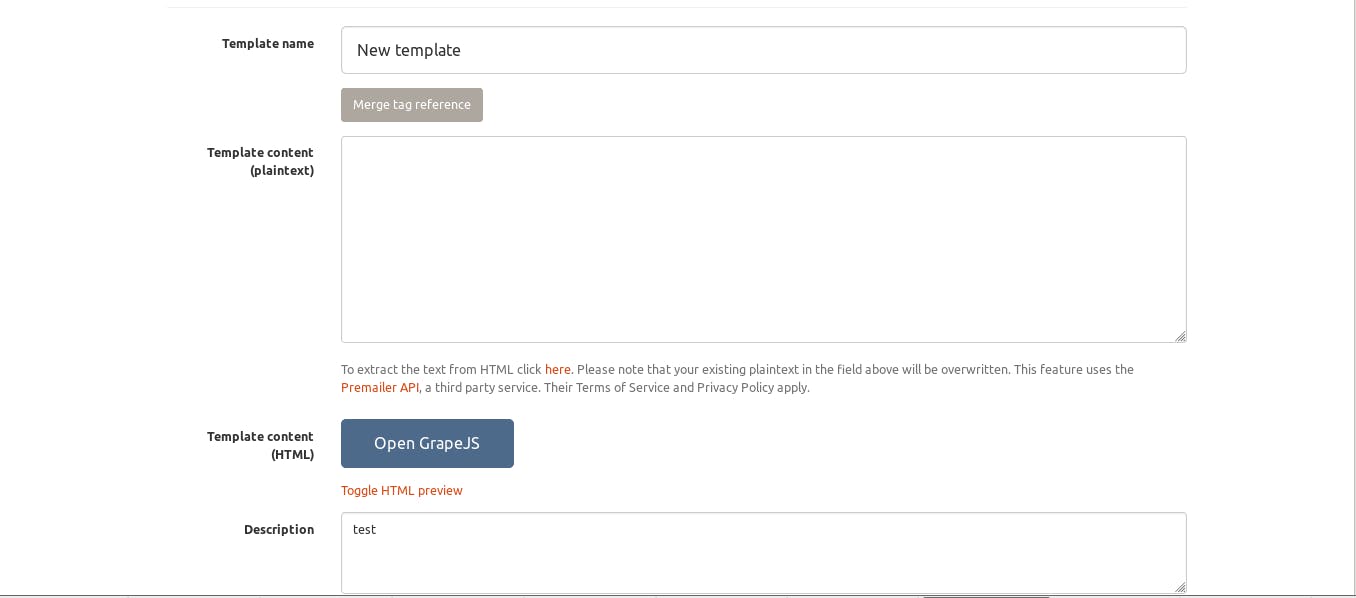
Creating Template
Mailtrain has a template creation feature that allows us to create an HTML email template in the mail train panel itself. To create a new email template follow these steps:
1. Click on Templates menu option
2. Enter template name, Select your desired HTML editor (we are using GrapeJS for this tutorial), Select HTML Template and description
3. Click on Create Template button
4. With this, your Template will be created and you will be redirected to the edit template screen, now you can edit the newly created email template.
5. Click on open GrapeJS button to edit using GrapeJS UI panel
6. After making necessary changes click on [save] and then close the panel
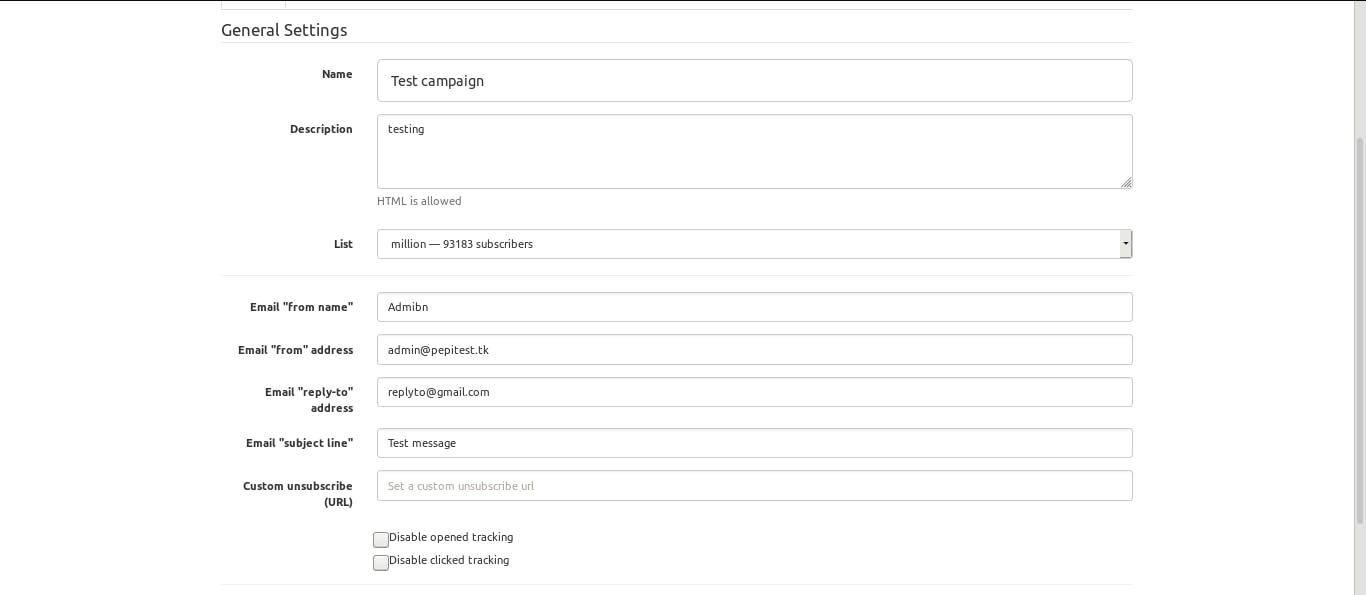
Create a new campaign
Campaigns in Mailtrain allows us to send relative emails to the targeted audience.
To create a new email campaign please follow these steps:
1. Click on [Campaigns] menu option
2. Go to [Create Campaign] -> [Regular Campaigns]
3. Enter Name of your Campaign and Campaign Description
4. Select the email list you had created in the previous steps
5. Select an Email template
6. Enter from the address of the campaign with a valid domain name
7. Enter the Subject line for your campaign
8. Click on [Create Campaign]
9. You can edit the template by clicking the Template tab and editing the template either directly or through your template editor.
10. Adding attachments to the email body can easily be done by clicking on [Attachments tab] -> [Add Attachment], Browse the attachment and click on [Upoload] button.
Send Email
1. Go to Campaigns->[Your-campagin]
2. Click on [Send to subscribers] button to send emails to the set email list.

3. After the campaign has been successfully completed, you will be able to see the status of the current campaign emails.
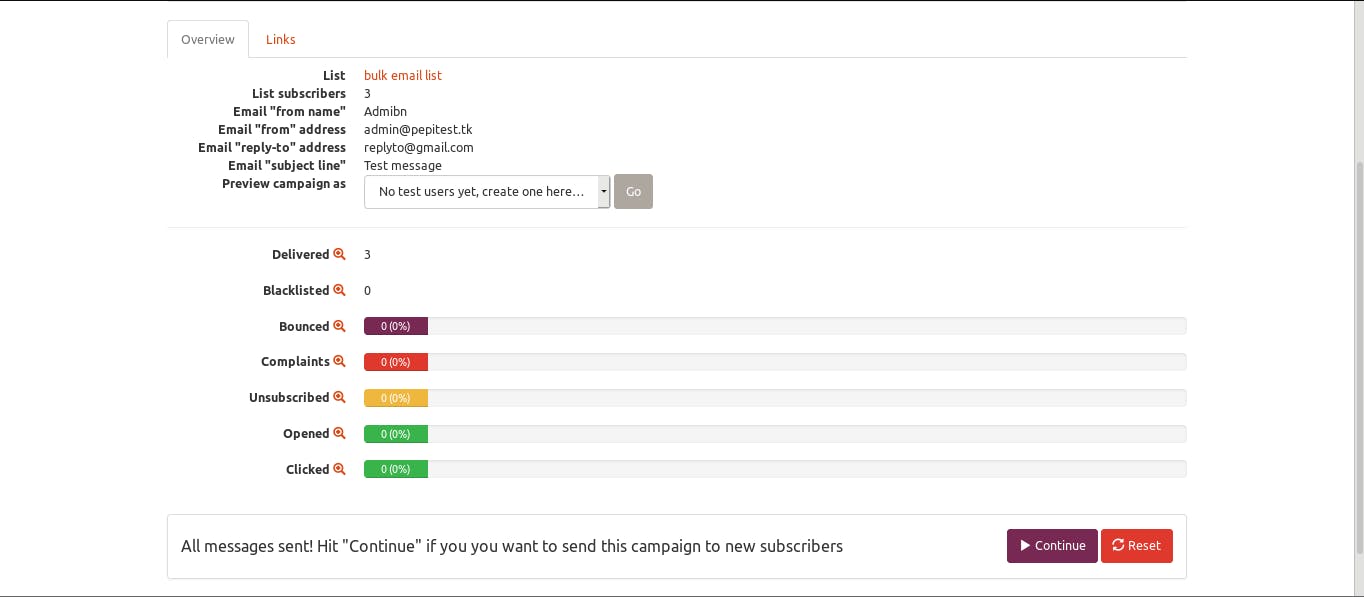
4. You can click on the [Reset] button to reset the status of the current campaign so that you can track your campaign without considering previously ran campaigns. This will reset all of the campaign data regarding earlier campaign runs.
5. Press continue to rerun the campaign without resetting the campaign status.
For Large Import list
1. For the list of 100000 email list, our server took around less than 20 minutes to import emails to our list.
2. Disable the validation in order to speed up the import process
3. With Mailtrain, it also helps to have change [Max connections] and [Max messages] settings in Advance mailer settings. This will help reduce the time taken to send a large email list.
Updating Advanced Mailer settings
i. Find the [Advanced Mailer settings] section in admin->settings (admin is your username).
ii. There are three options in this section [Max connections],[Max messages] and [Throttling].
iii. [Max connections] is the maximum number of open connections that will be sending emails to your email server. By default these are set to 5, you can change this to greater value for a large email batch.
iv. [Max messages] is the number of emails batches that are sent from each connection to the SMTP server.
v. [Throttling] limits the maximum number of emails you can send in an hour. So in case you enter 5000 then Mailtrain will send not more than 5000 emails per hour.
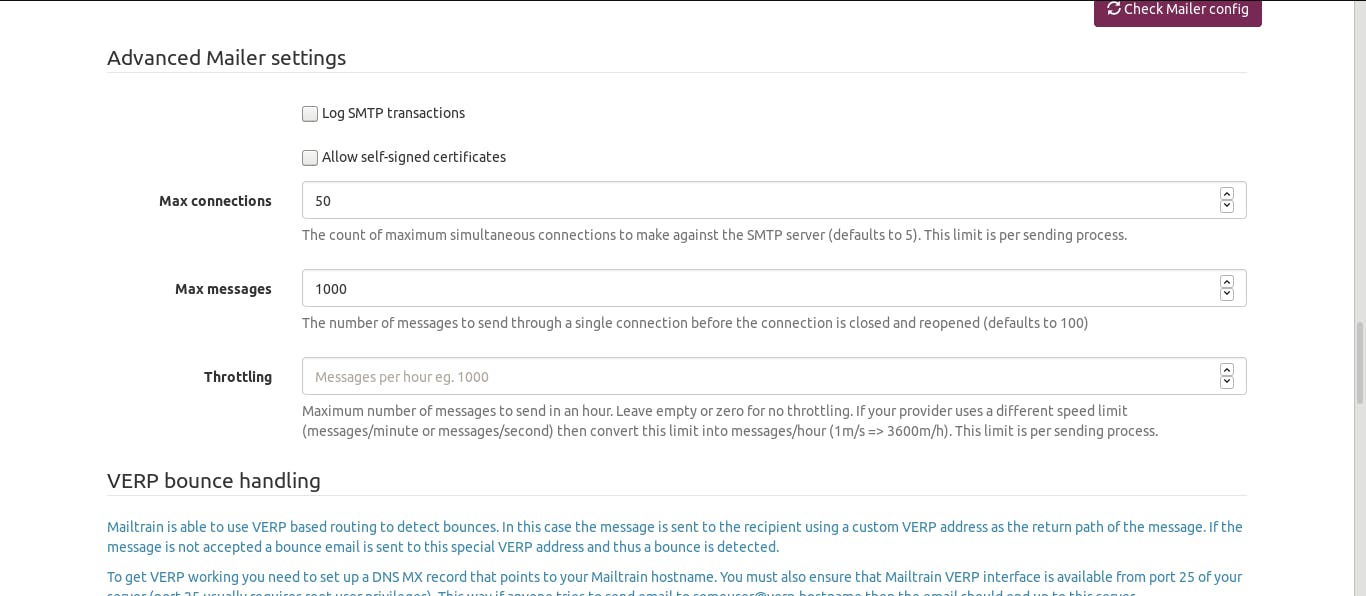
4. With [Max connections] set to 50, [Max messages] set to 1000 you will be able to achieve to send 100000 in just over 50 minutes but results may vary depending on your system and setup.
Conclusion
By following these steps you have now successfully installed Mailtrain and are ready to send bulk emails through Pepipost SMTP services. You can easily create HTML email templates using template generator and run Email campaigns on the preferred email lists.
Grade My Email
Check your spam now?
Netcorecloud's toolkit is the solution to all your email problems.


You can also explore
Netcore connects & unifies your data across all sources, connects to your marketing channels and provides you with control over AI Powered automation and personalization.


Deploy emails that are
screenshot worthy!

Unlock the Secrets of Your Domain, Discover Limitless Possibilities! ✨
Get a Free Domain Health Check Now!

Hitesh Pandey💻
Full Stack Developer, Pepipost
🥑 Developer Evangelist | 🥇Email Geek