
[Complete Guide] How to integrate Pepipost SMTP with EXIM mail server?

Published on 2020-06-01· Updated on 2021-12-15
This tutorial will help you integrate your current EXIM version with Pepipost SMTP to enable routing of your emails.
Version: Exim 4
If you're using any Exim 3.x or an earlier version, then please upgrade those to Exim 4.x or above. As all releases before 4.x have been marked as obsolete by the Exim.
FAQ
EXIM Configuration Steps for Linux Users
Here is a sample configuration file, which can be found at /etc/exim4/update-exim4.conf.conf.
[Note: This sample is just an example and was pulled from Ubuntu Server 10.4]:
dc_eximconfig_configtype='smarthost'
dc_other_hostnames=''
dc_local_interfaces='127.0.0.1'
dc_readhost='your.server.name'
dc_relay_domains=''
dc_minimaldns='false'
dc_relay_nets=''
dc_smarthost='smtp.pepipost.com::587'
CFILEMODE='644'
dc_use_split_config='false'
dc_hide_mailname='true'
dc_mailname_in_oh='true'
Step 1: Enable TLS support in /etc/exim4/exim4.conf.localmacros. If you're unable to locate this file at the location specified, then you will need to create it and add/update the following TLS line:
MAIN_TLS_ENABLE = 1
Step 2: Open the file /etc/exim4/passwd.client and enter your Pepipost SMTP login credentials to allow Exim to access Pepipost to send emails:
*:PepipostUsername:PepipostPassword
Step 3: Save all the changes, and restart EXIM to activate the changes:
$ /etc/init.d/exim4 restart
EXIM Configuration Steps for cPanel Users
If you are a cPanel user and using Exim, then follow the below configuration steps to route your emails through Pepipost SMTP.
1. Login to your WHM Admin dashboard.
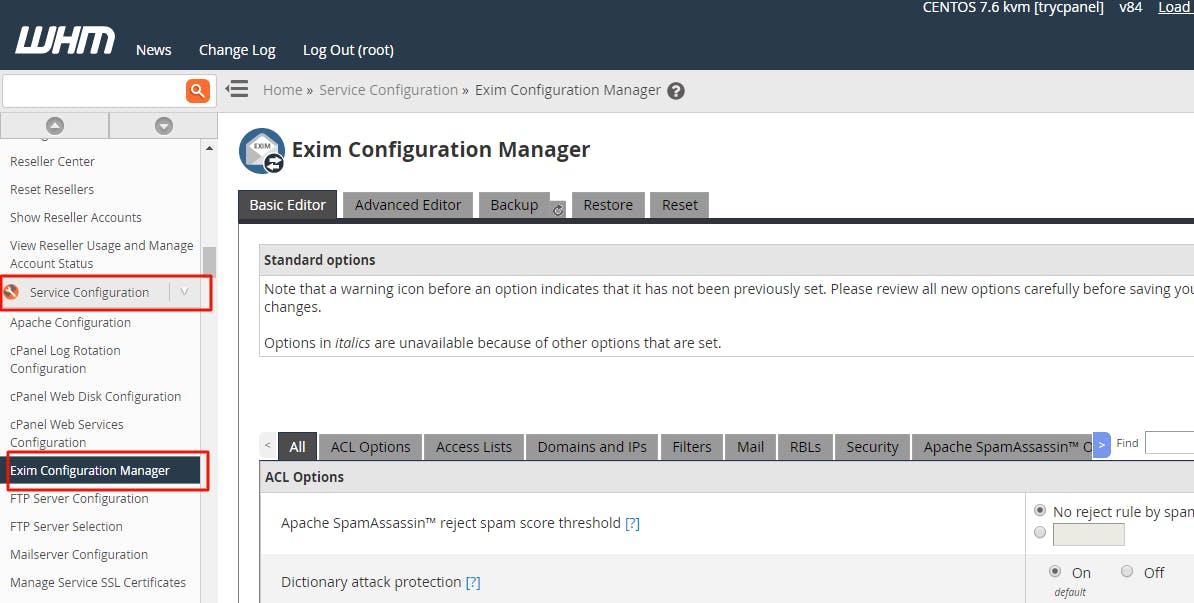
2. Go to Main > Service Configuration > Exim Configuration Editor.
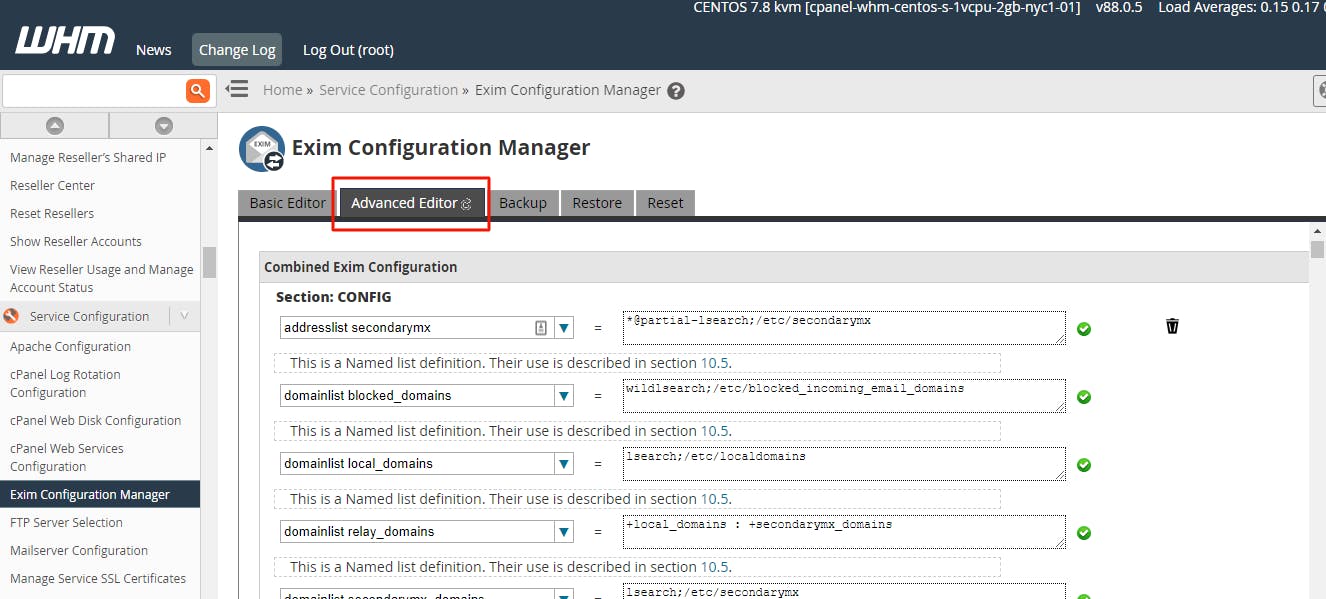
3. Click on the Advanced Editor button:
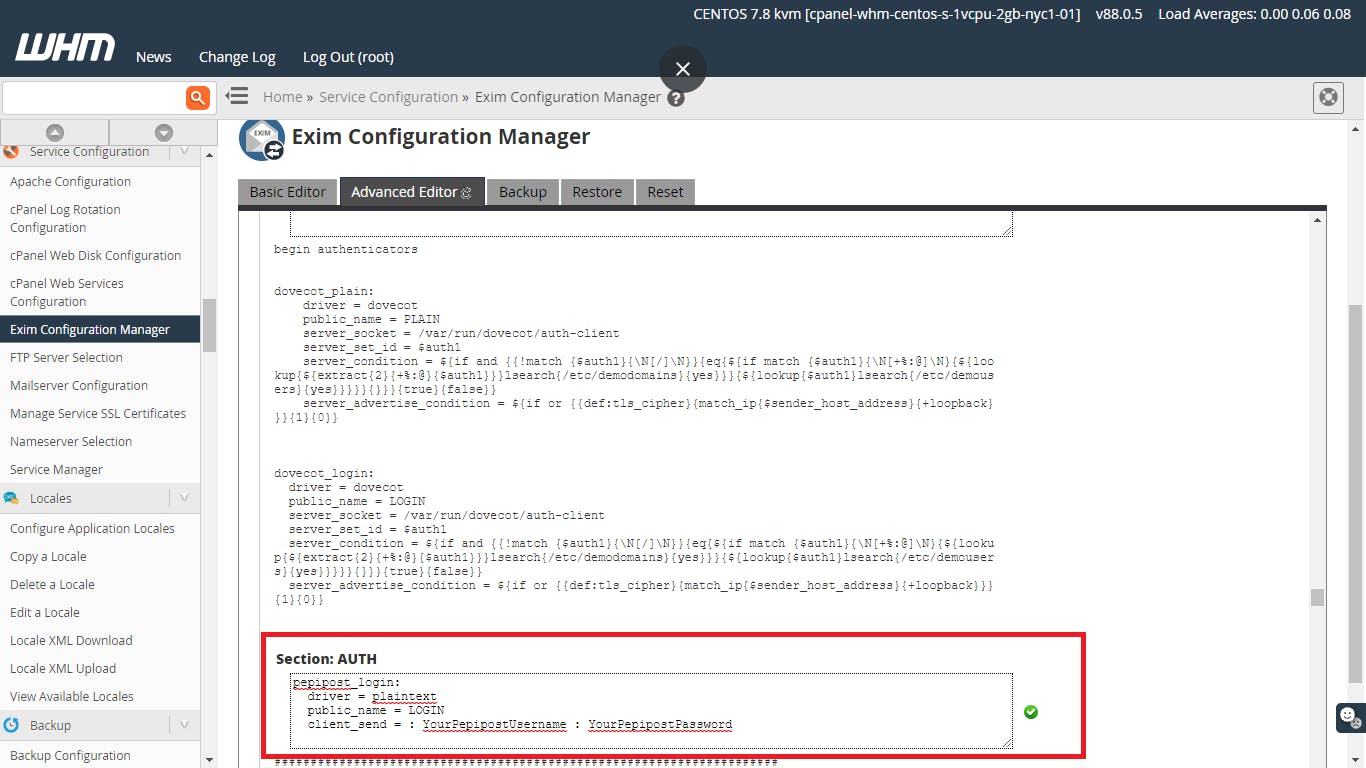
4. Enter the following in the AUTH Box:
begin authenticators

pepipost_login:
  driver = plaintext
  public_name = LOGIN
  client_send = : YourPepipostUsername : YourPepipostPassword
Note: Only include "begin authenticators" if it's not already there in the configuration file. Adding this repeatedly will give your error on save.
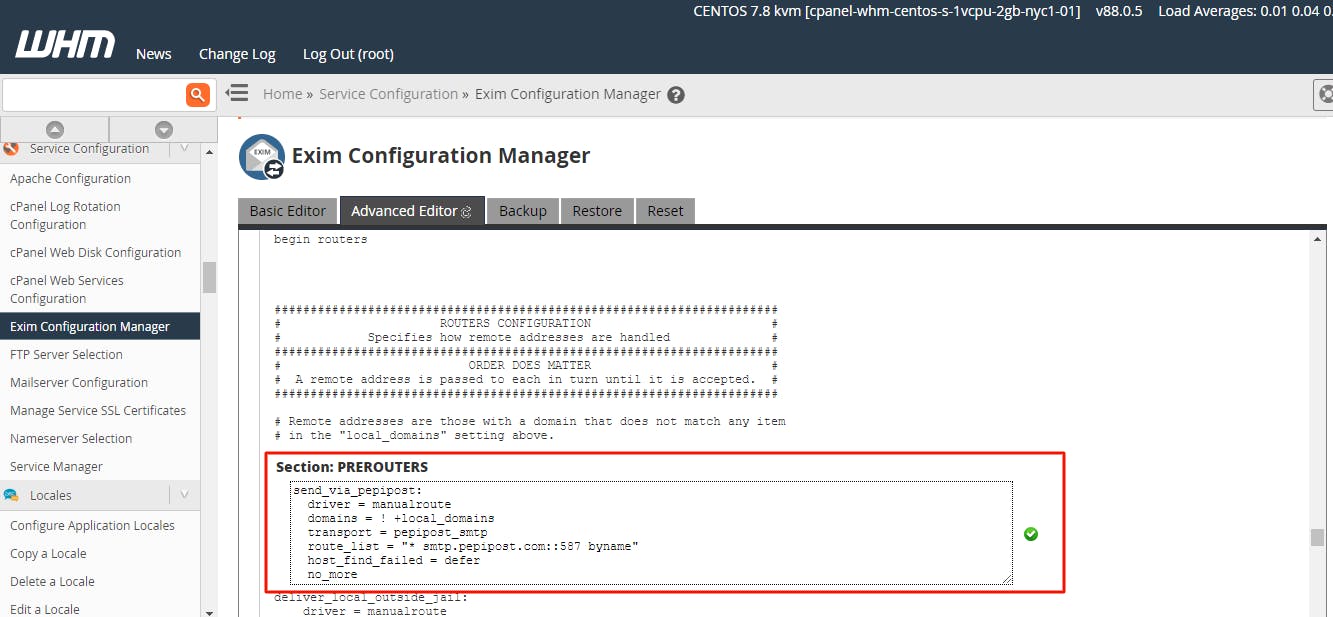
5. Add a route in the Router Configuration Box:
send_via_pepipost:
  driver = manualroute
  domains = ! +local_domains
  transport = pepipost_smtp
  route_list = "* smtp.pepipost.com::587 byname"
  host_find_failed = defer
  no_more
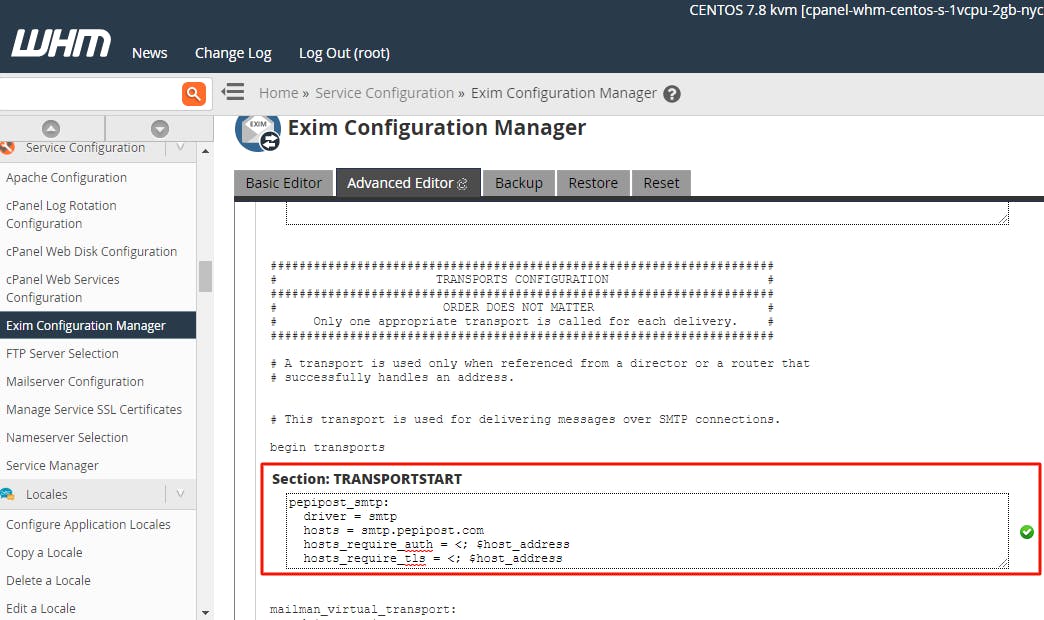
6. Add transport to the Transport Configuration Box:
pepipost_smtp:
  driver = smtp
  hosts = smtp.pepipost.com
  hosts_require_auth = <; $host_address
  hosts_require_tls = <; $host_address
7. Once you have completed and saved all changes to Exim's configuration files, you have to restart Exim to activate the changes:
$ /etc/init.d/exim4 restart
Detailed Exim Documentation
If you want to know more about some of the above Exim parameters and its configuration, then please refer the official Exim Documentation.
Grade My Email
Check your spam now?
Netcorecloud's toolkit is the solution to all your email problems.


You can also explore
Netcore connects & unifies your data across all sources, connects to your marketing channels and provides you with control over AI Powered automation and personalization.


Deploy emails that are
screenshot worthy!

Unlock the Secrets of Your Domain, Discover Limitless Possibilities! ✨
Get a Free Domain Health Check Now!

Dibya Sahoo🥑
Co-founder, Pepipost
Over 12 years of experience, building products to deliver emails ~ 🥑 Developer Relations Guy ~ 🎙️ Speaker